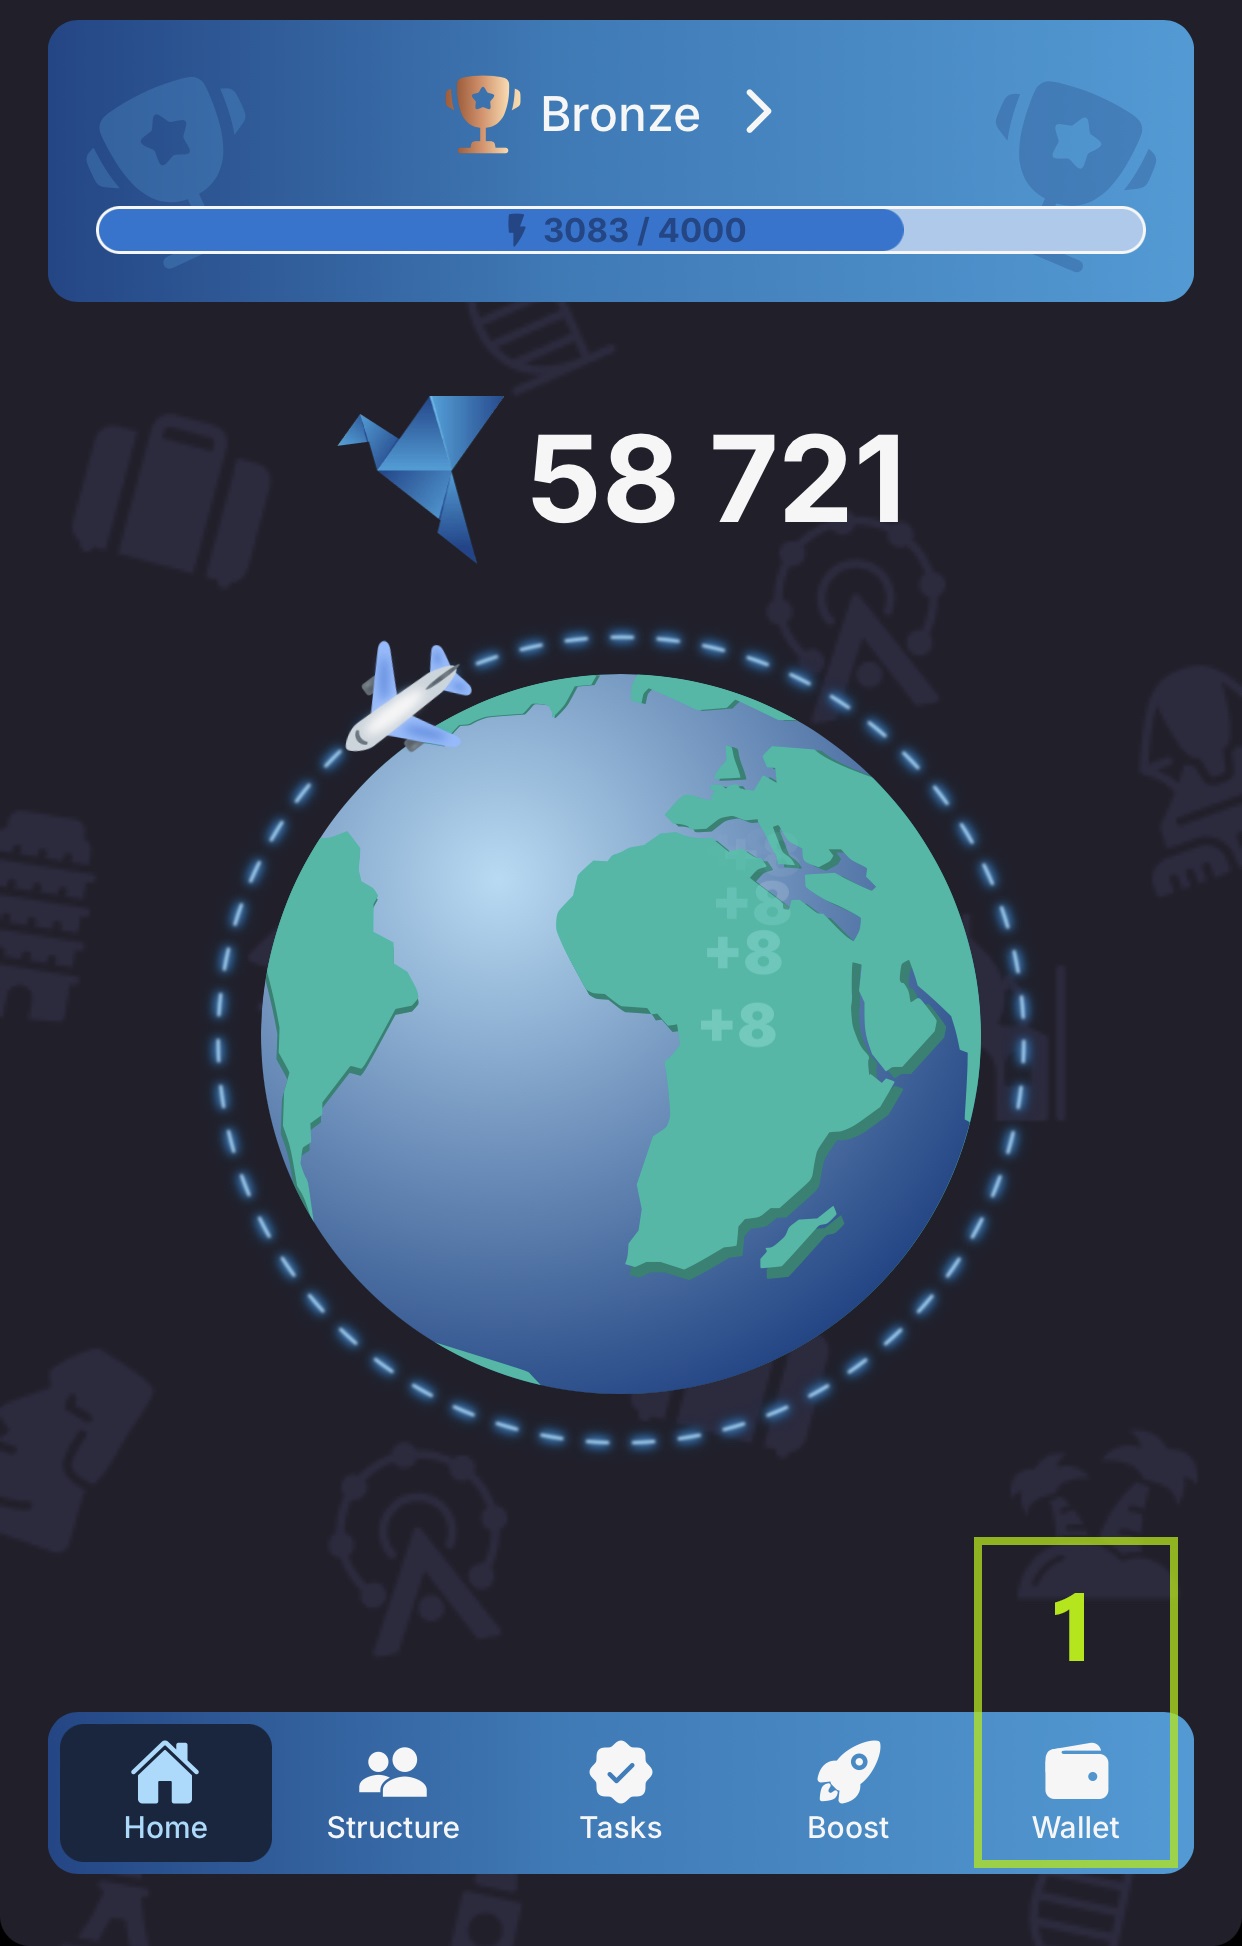
Home Screen
Home Screen

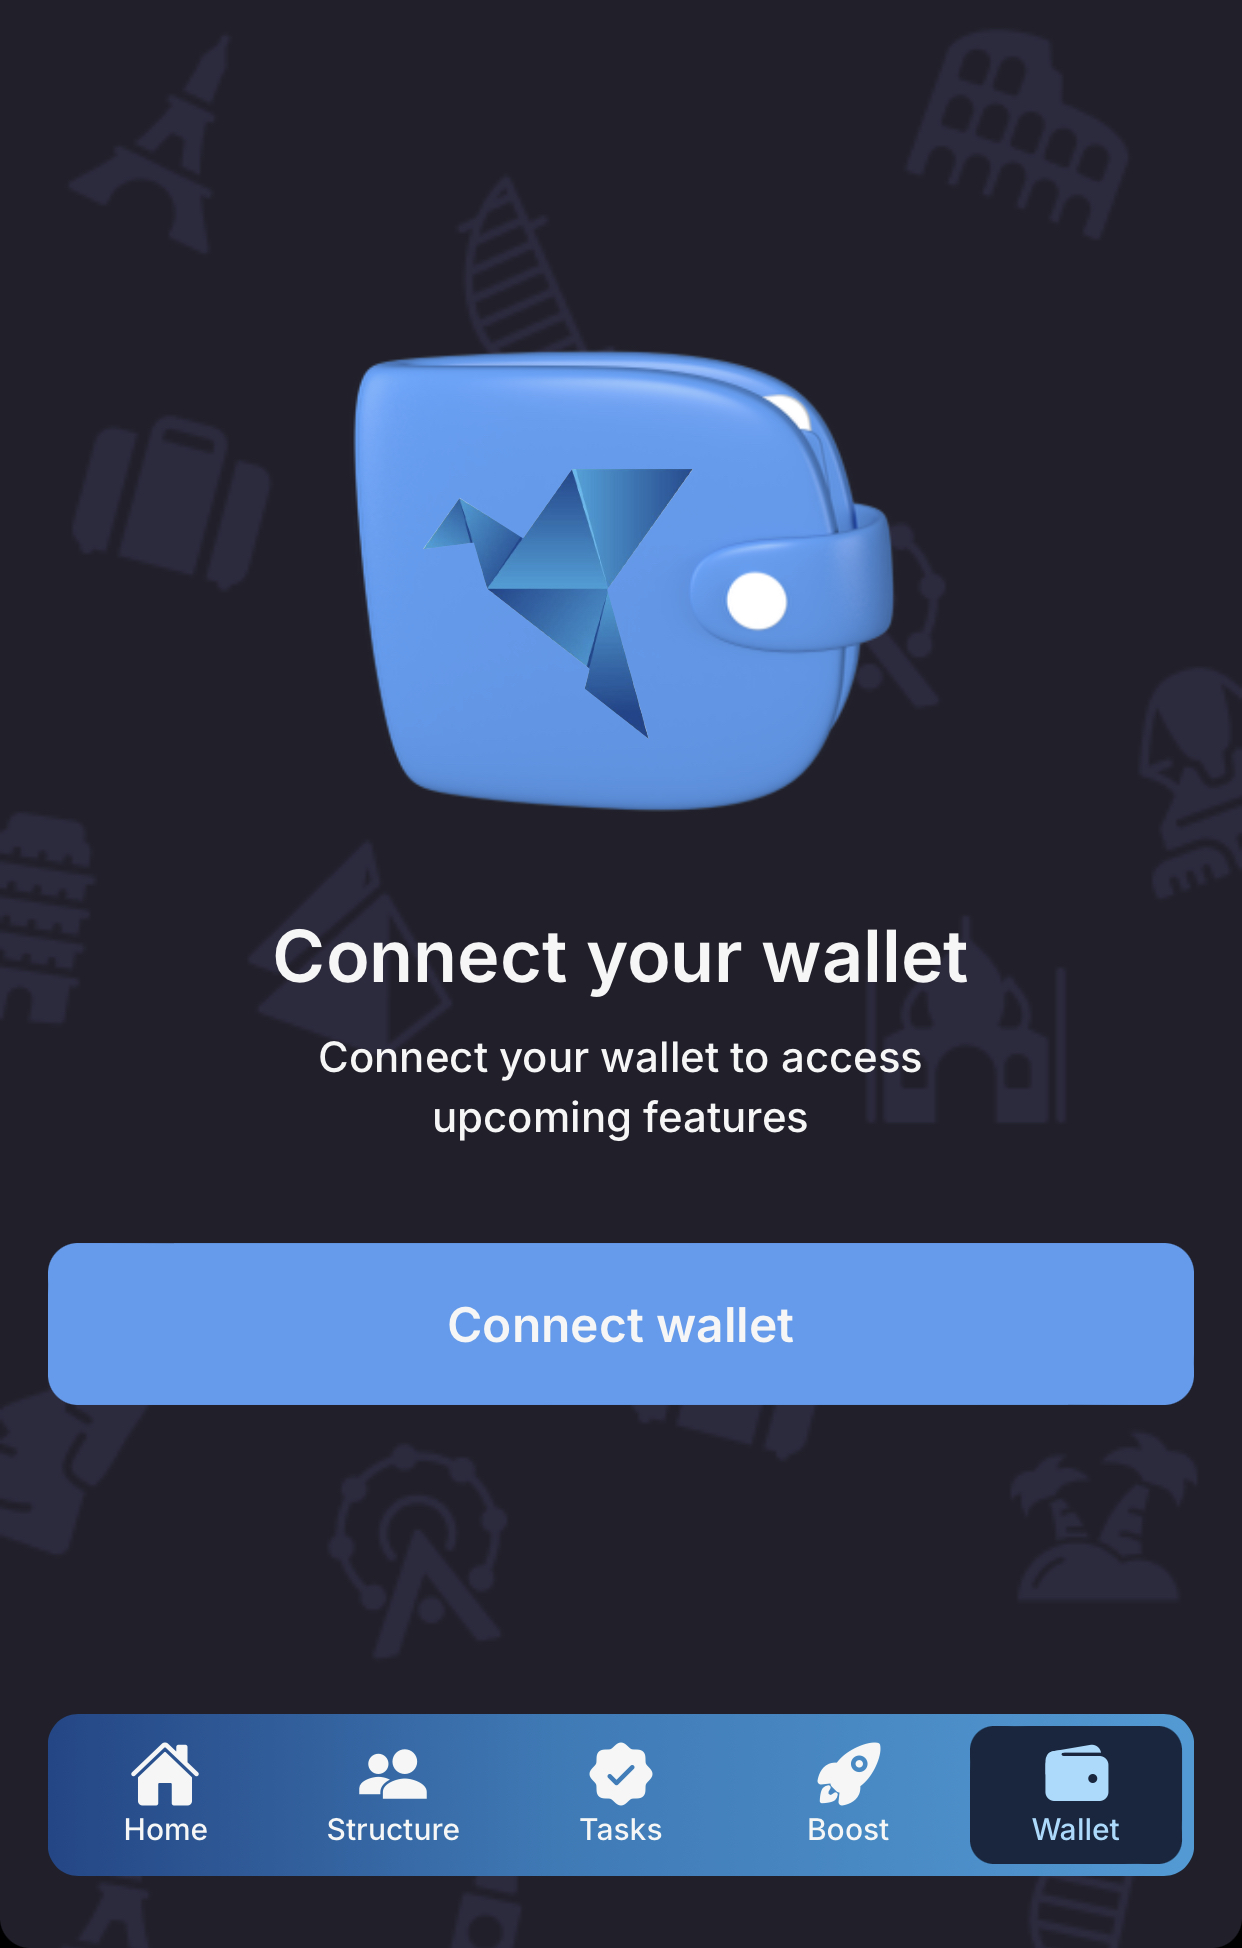
Wallet Screen

Wallet Connection Popup

Wallet Selection

Wallet’s Terms of Use

Wallet’s Start Page

Backup Options

Adding Recovery Email

Verifying the Email

Wallet Backup Success
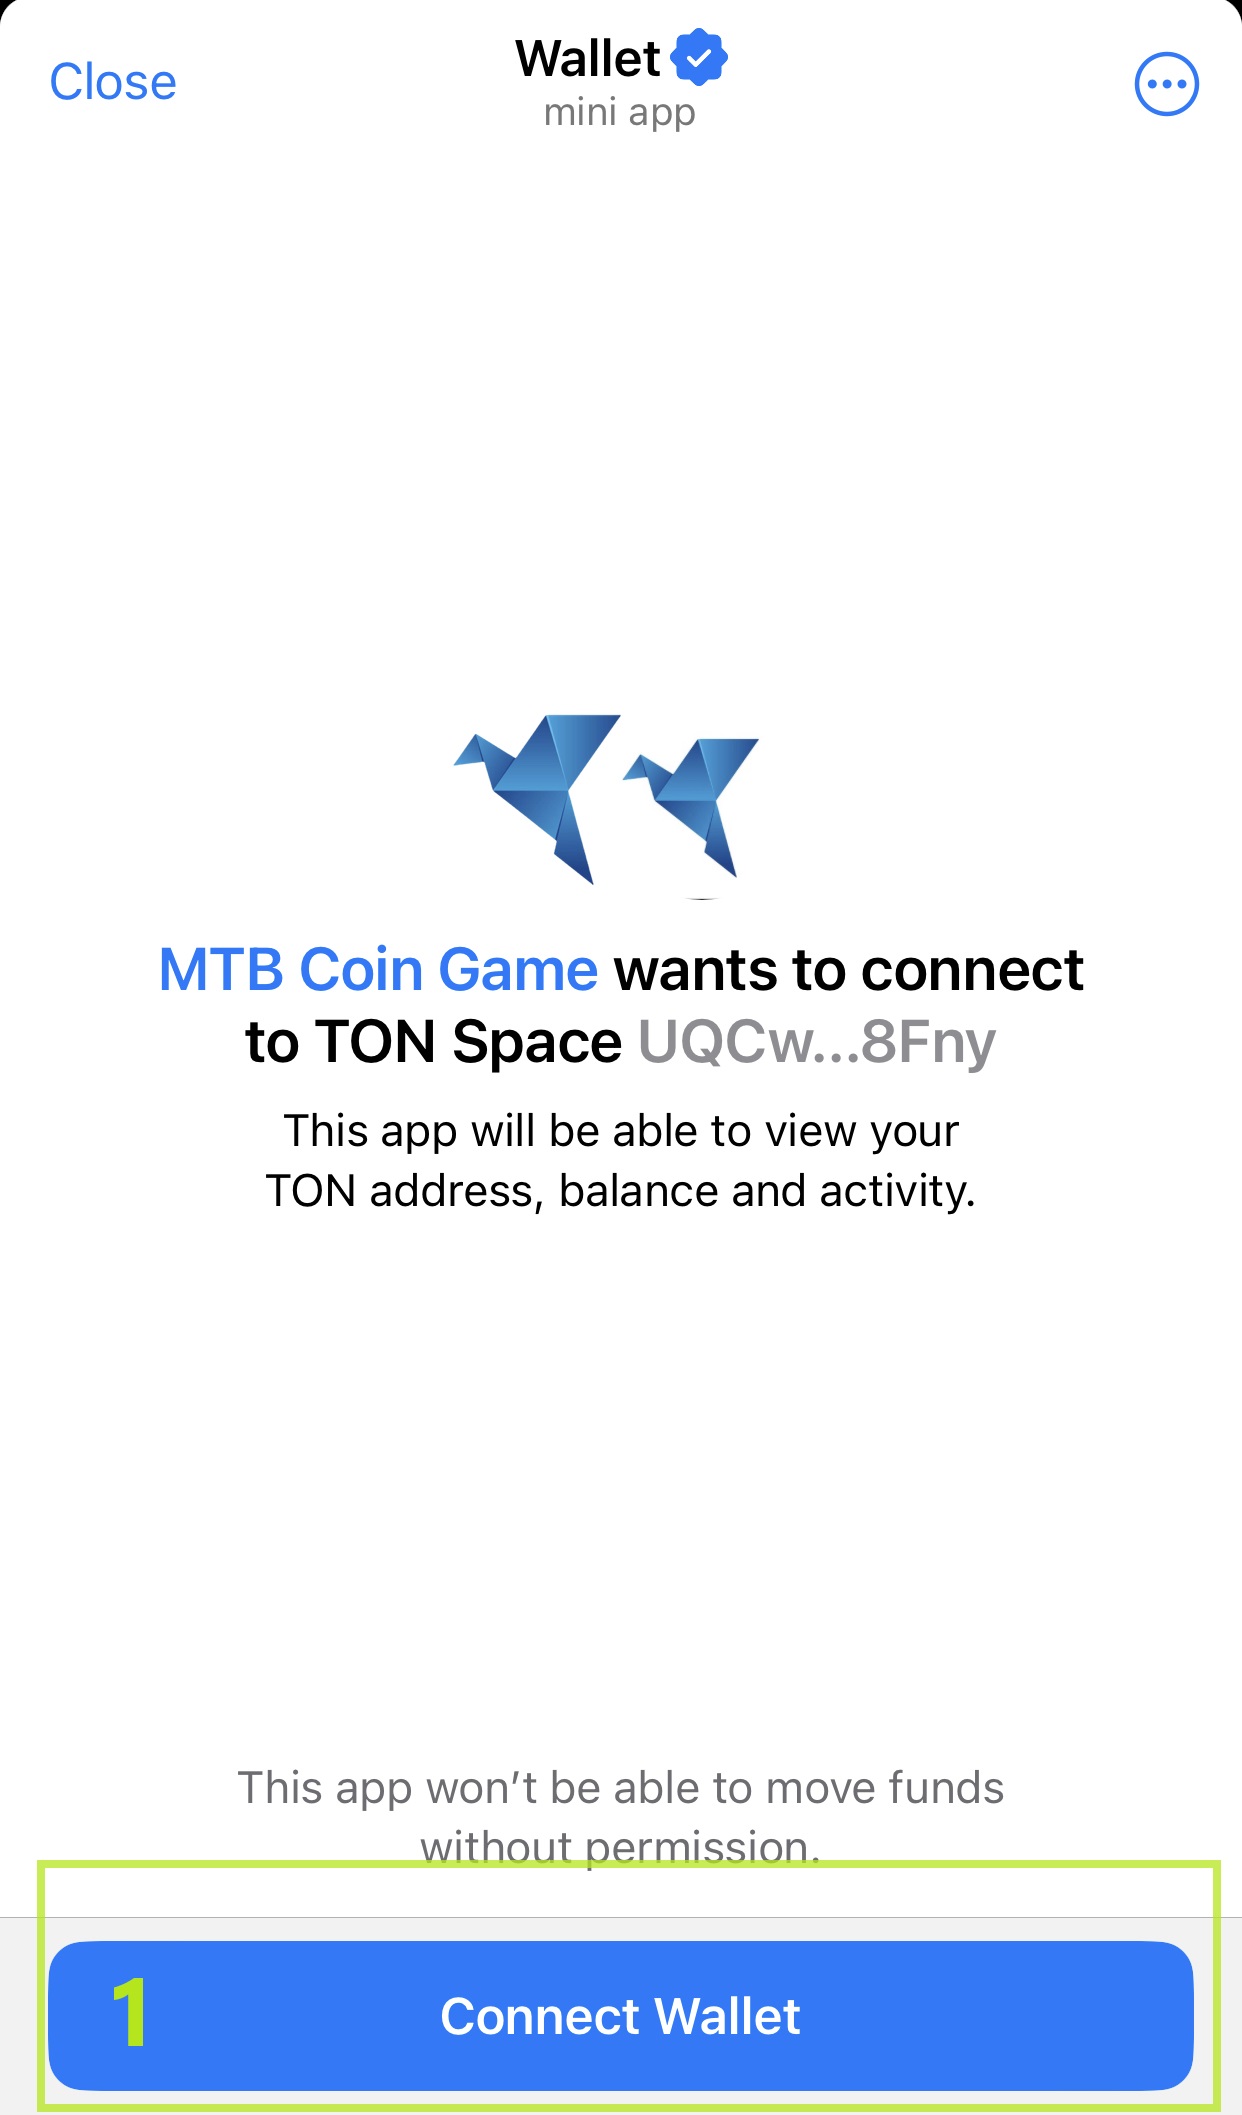
MTB Coin Game Connection Request

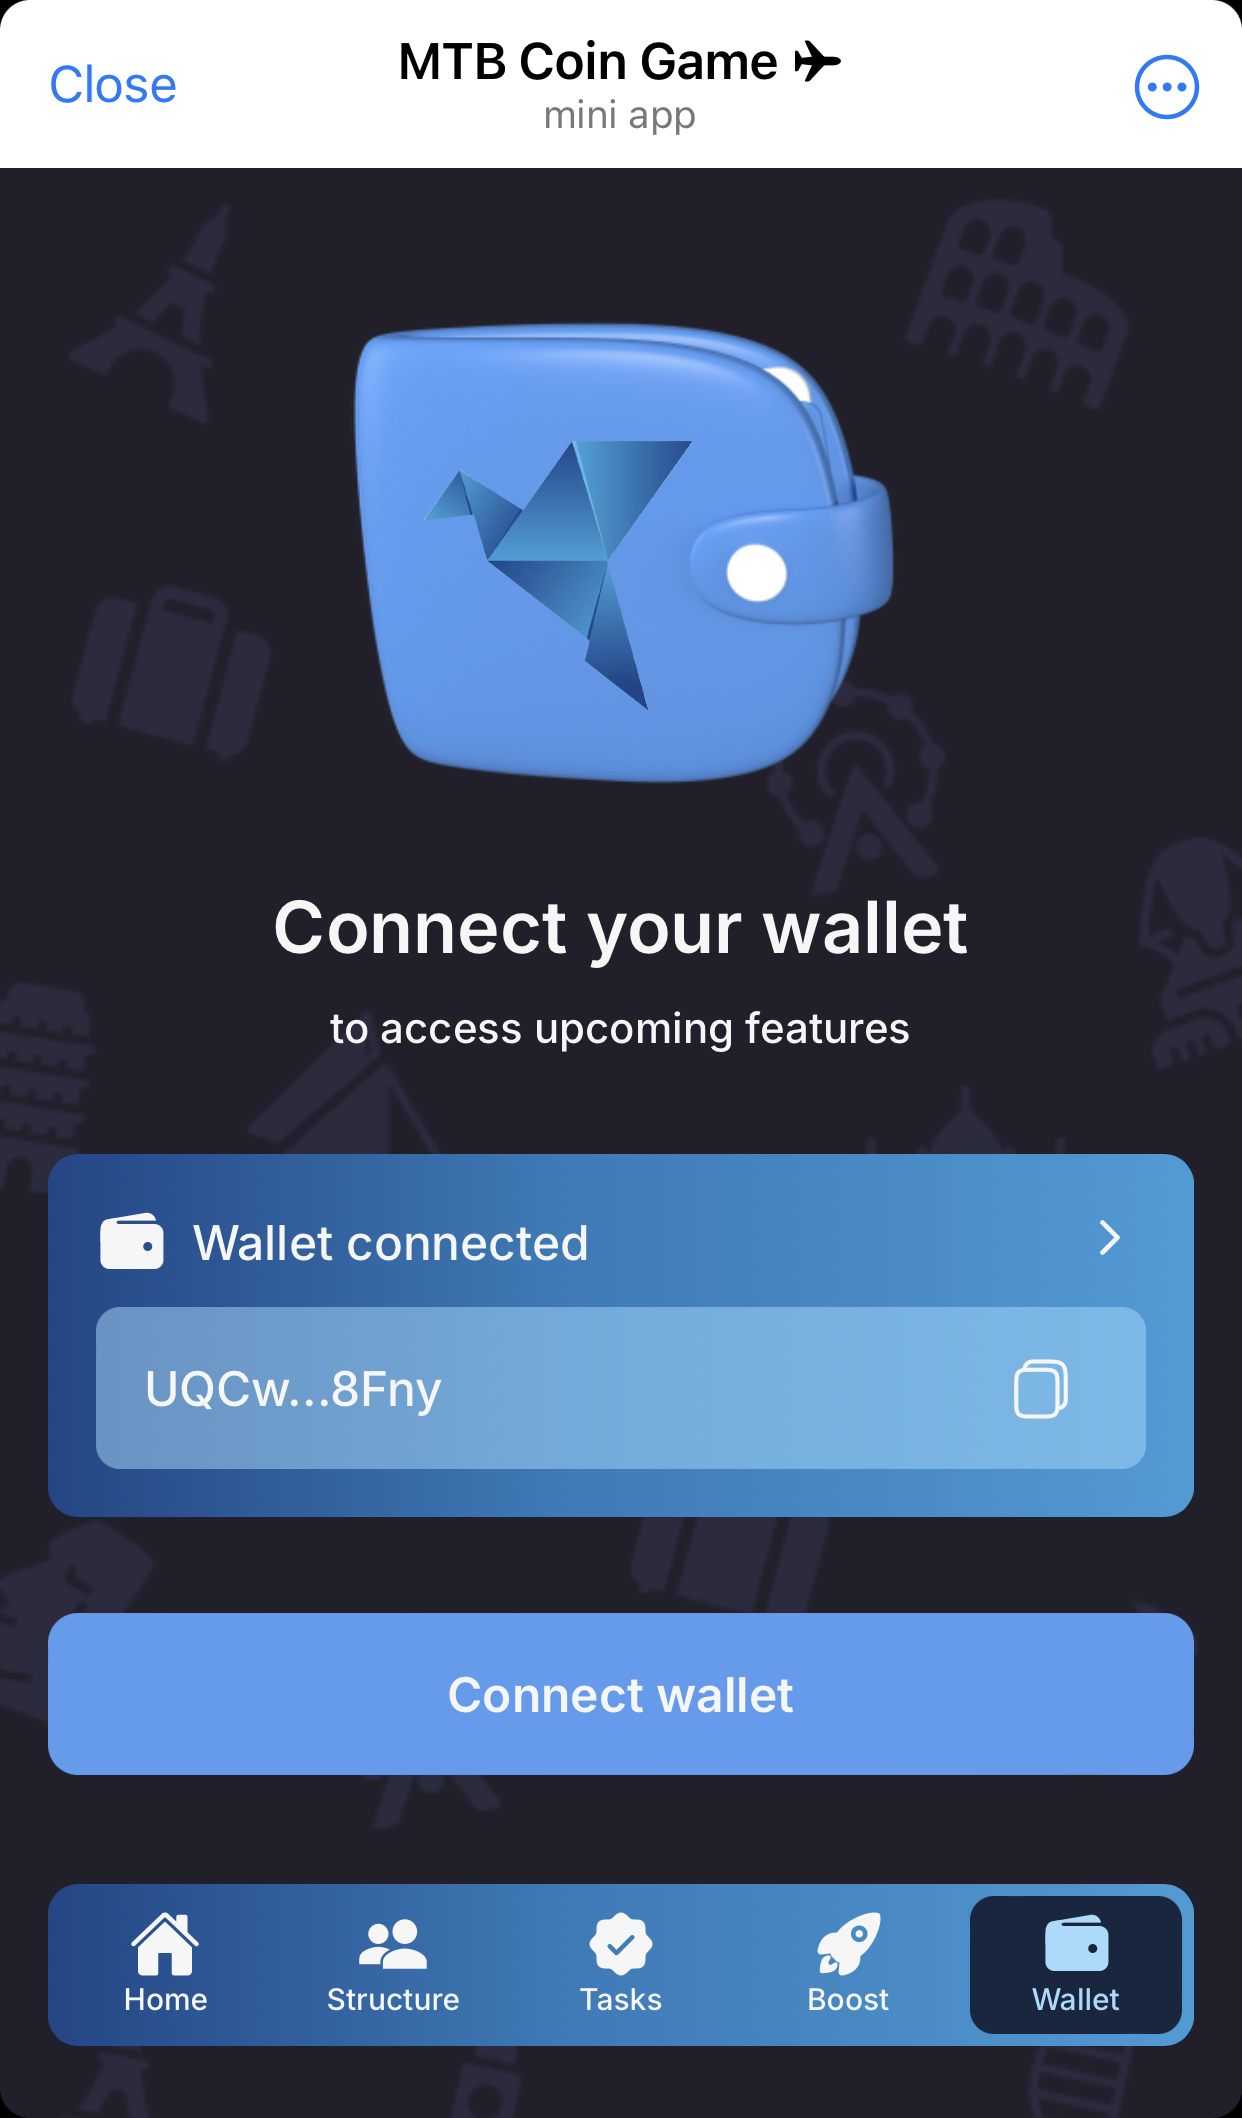
MTB Coin Game Connected to TON Space
Wallet Connected

Wallet Screen with Connected Wallet
Connected Wallet Info

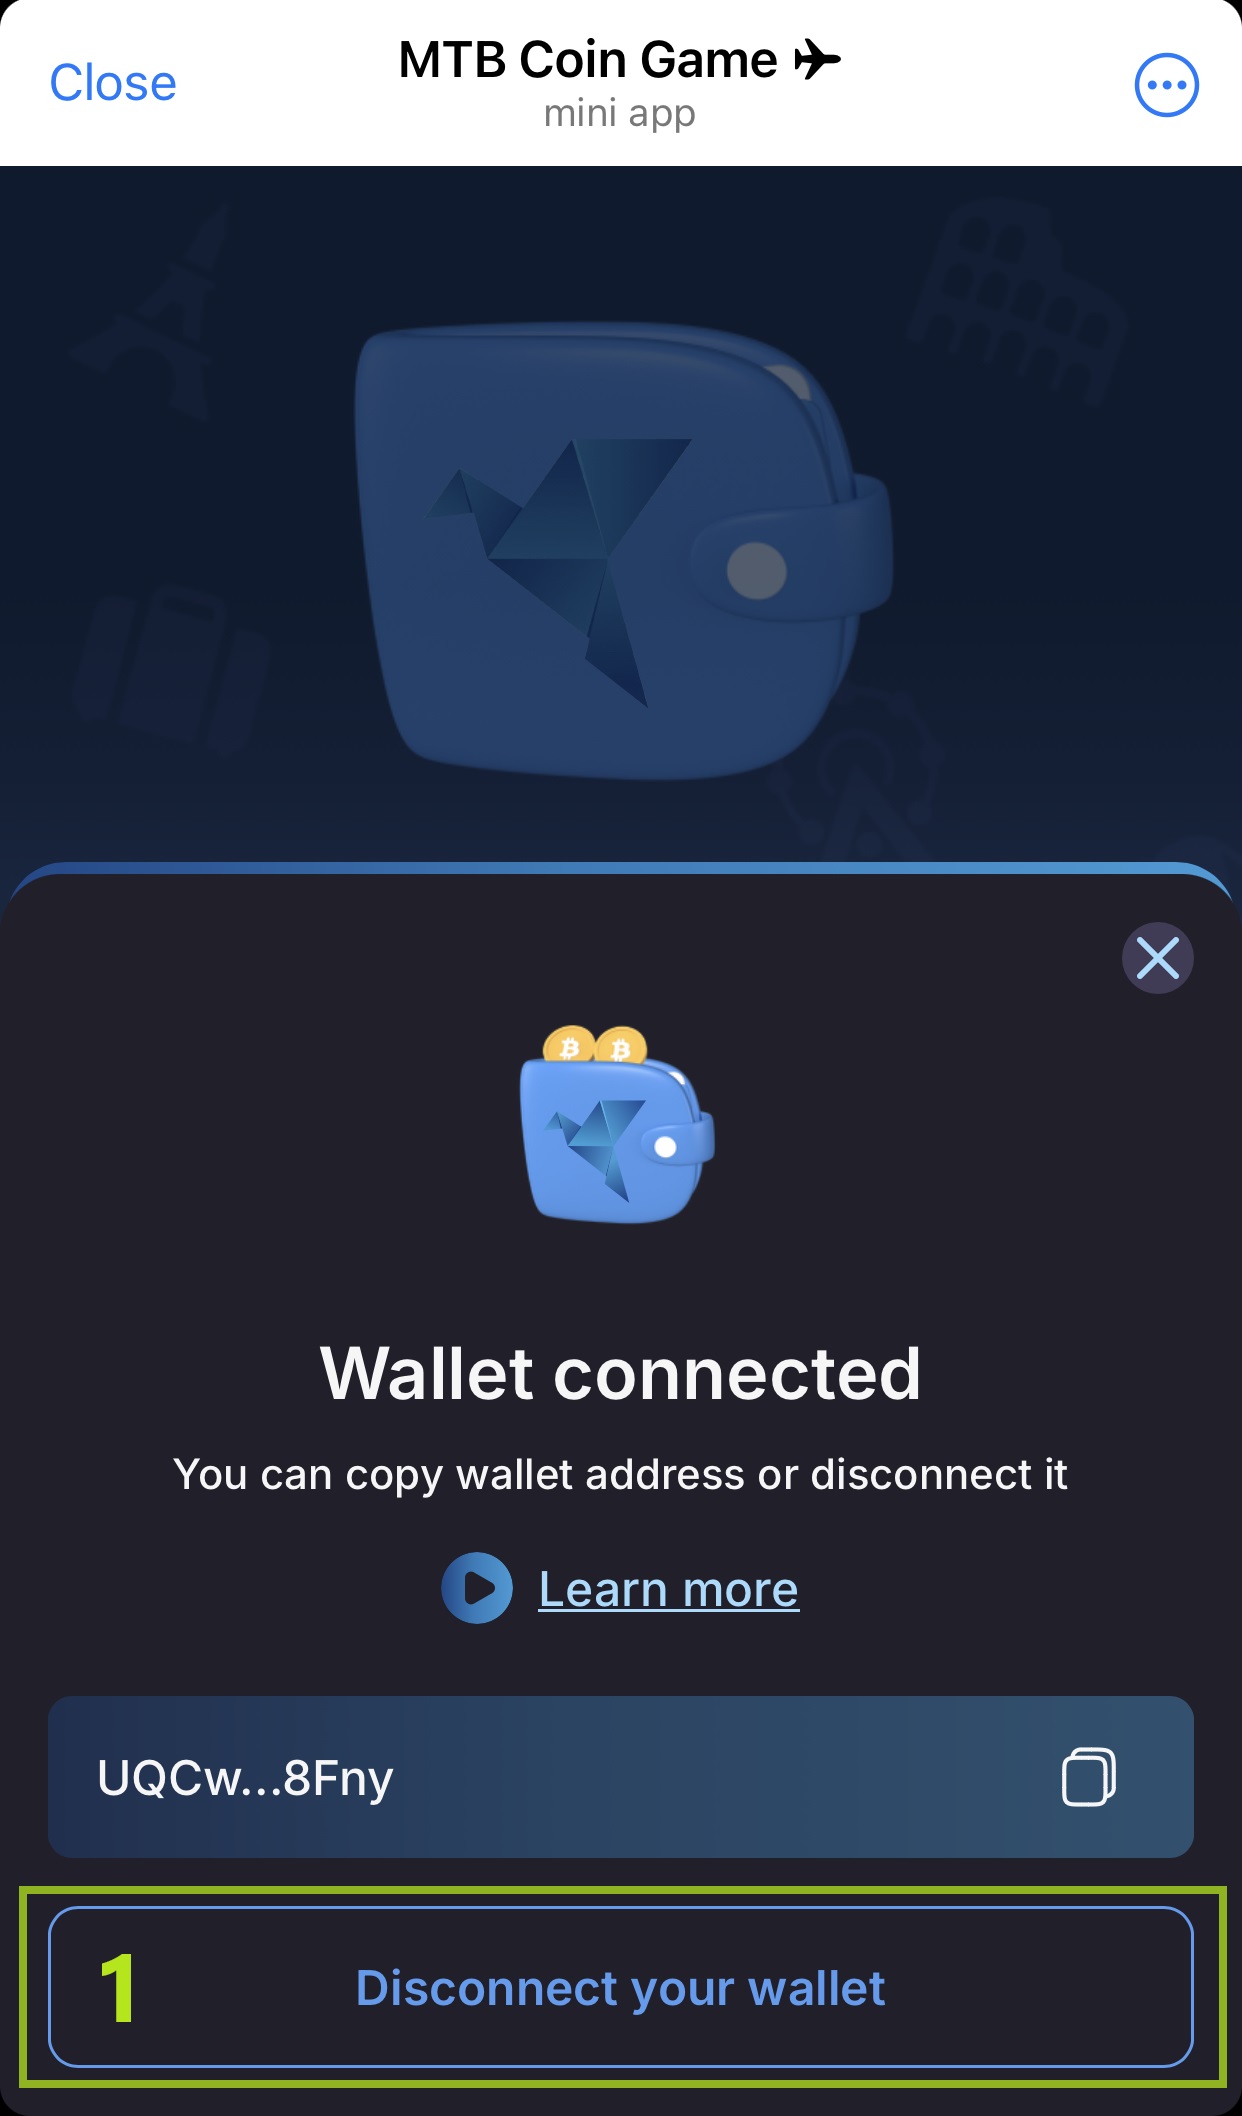
Wallet Disconnect Confirmation
Wallet Screen with No Connected Wallet